From a measured brief to a layered, branded bag — a practical guide to custom manufacturing.
A useful thermal bag starts with its contents, not its outside appearance. The width of a pizza carton, the height of a packed meal, the weight carried by a rider and the way a kitchen closes an order all influence the pattern. At Thermalbags.ae, part of Orient Uniforms FZE, the wholesale brief brings these decisions together with the fabric, shade, branding and delivery requirements.
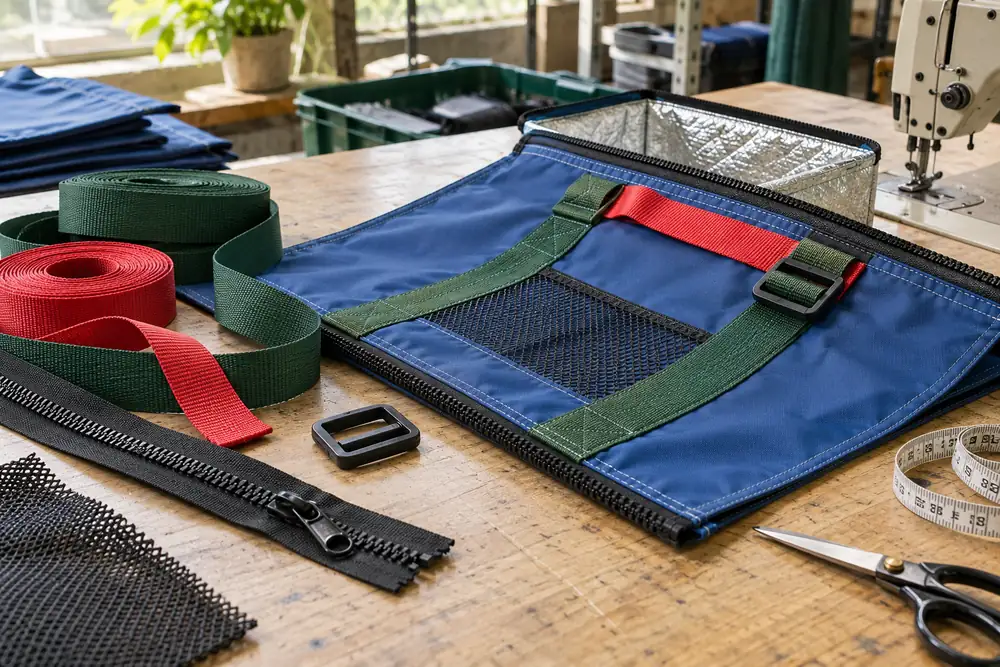
The process below explains a typical sewn insulated bag construction. Illustrations show proposed manufacturing stages; they are not photographs of a specific production order. Materials, layer thickness, dimensions and performance requirements are confirmed in the quotation and approved sample. We supply and coordinate delivery from Sharjah for business customers across the UAE.
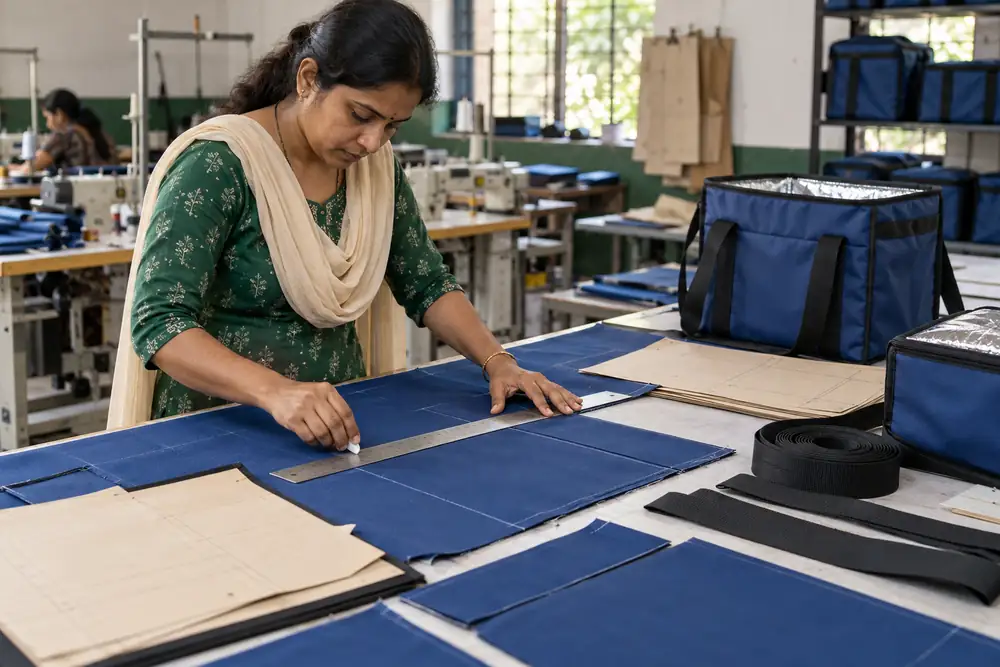
01 / BRIEF, FABRIC & PATTERN
Measure the load and select the shell
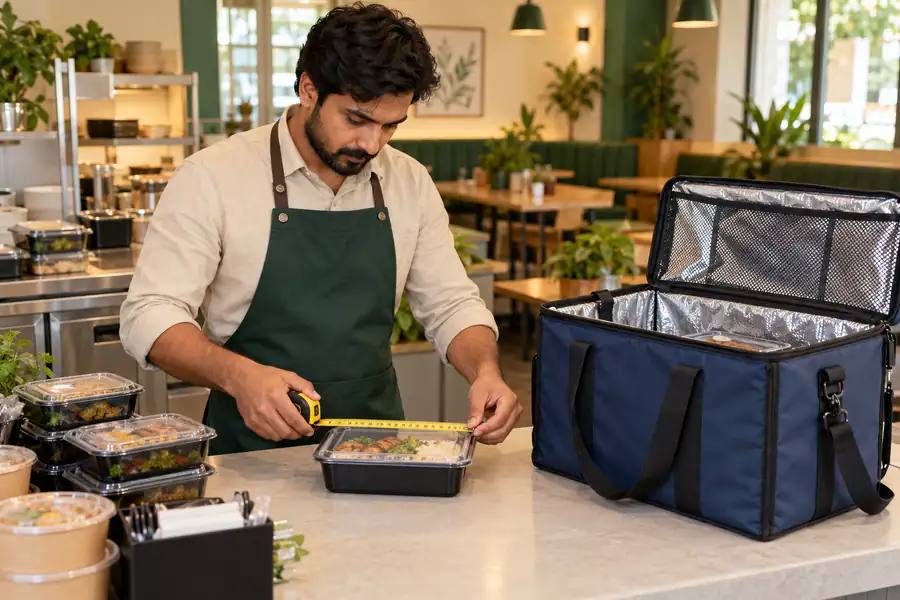
Begin with the closed containers that the bag will carry. Measure width, depth and height, then identify the largest intended combination. Include dividers, removable supports and any cold packs in the trial arrangement. External bag measurements are larger than usable internal measurements because seams, lining and insulation occupy space.
Choose the fabric for its proposed use and appearance. D600 Oxford provides a visibly woven shell; Oxford Taffeta has a finer surface; polyester and canvas references include different textures and colour treatments. Nylon can be discussed as a material option, but its shade card is still pending. Denier alone does not establish waterproofness, strength or thermal performance.
Our catalogue contains 175 supplied shade references across six fabric families. Compare the source card and request a physical swatch before approval. Webbing and shell fabric are different materials, so matching colour names do not guarantee identical shades. Cutting patterns include seam allowances, zip openings, pockets, print areas and handle positions.
For a repeat order, retain the approved pattern version and dimensions. A change in packaging can require a new pattern even when the outside size appears similar. Trial loading helps identify awkward openings before bulk cutting begins.
02 / LAYERS & INSULATION
Build the wall as a complete system
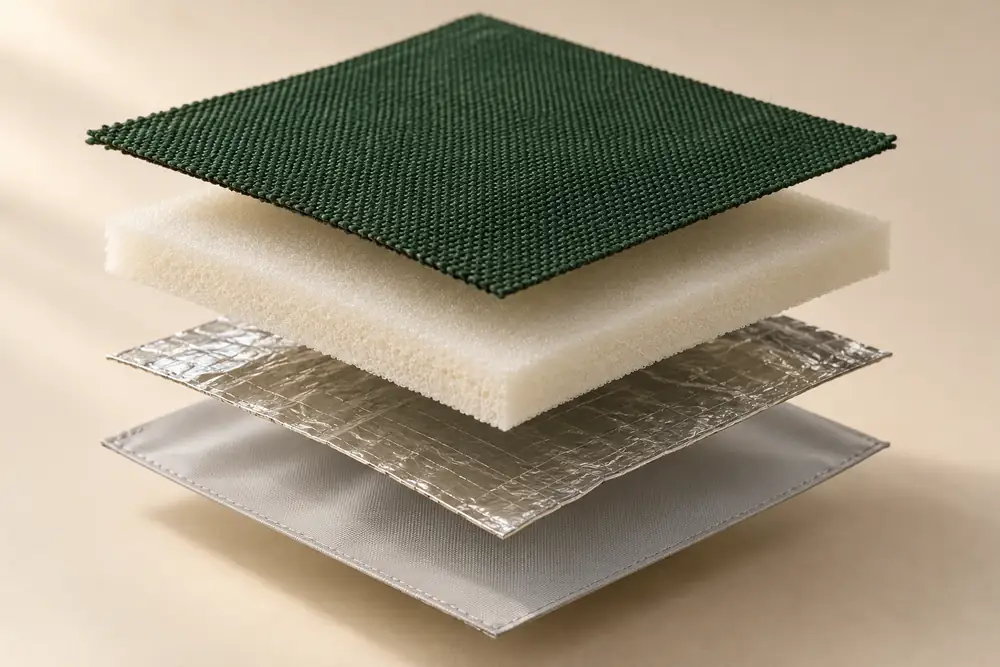
The outer fabric gives the bag its colour, texture and printable surface. Foam provides insulation and some cushioning. A metallised or aluminium-faced layer may be included in the thermal construction. The inner liner forms the surface around the packaged contents. A proposed PEVA liner must be specified and documented for its intended use rather than assumed food-contact compliant from its name.
The supplied construction reference illustrates 6 mm and 8 mm foam options. These are design starting points, not a universal specification for all 875 catalogue designs. Foam type, thickness, seams, closure and loading conditions influence the finished bag. Any alternative layer order or combined lining material should be recorded on the sample specification.
Insulation slows heat transfer; it does not actively heat or refrigerate food. Validate the complete packed arrangement against your operational requirements. A photograph, foil appearance or thickness value cannot establish a guaranteed temperature-retention period. Your food-service team should define the handling routine and any necessary testing.
Consider how the liner will be accessed for cleaning and drying. Corners, stitched joints, removable bases and divider attachments all deserve inspection. Keep food in suitable closed packaging unless the selected lining and complete construction are specifically approved for direct contact.
03 / ARTWORK & PRINTING
Place branding before panels are assembled
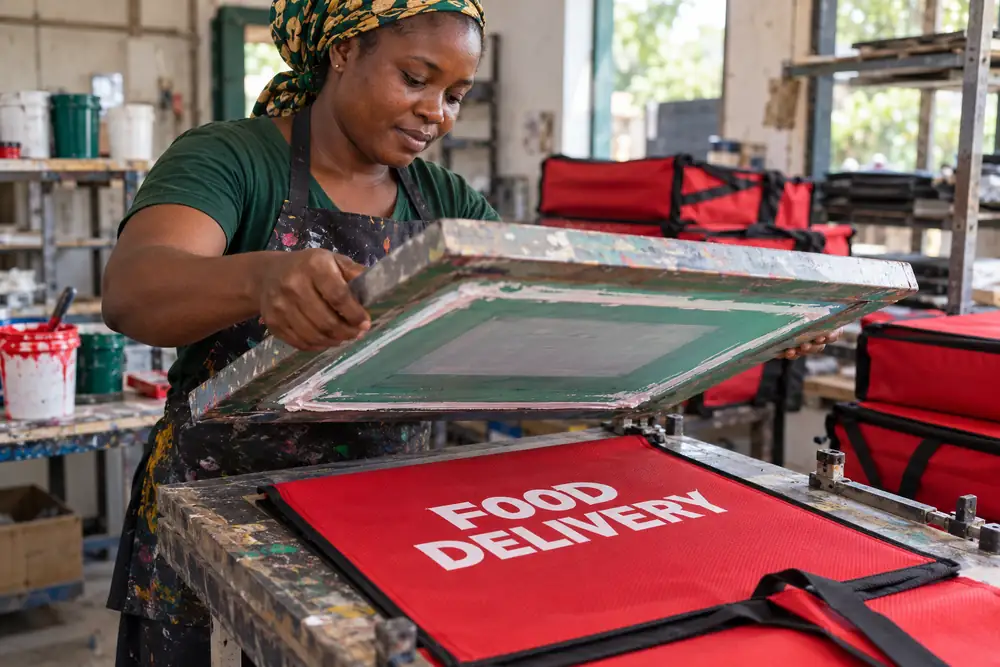
Branding works best when it is planned with the pattern. A large side panel can carry a restaurant name, while a front flap may suit a simple category label. Keep artwork clear of zippers, curved seams, handle anchors and reflective bands. The usable print area is the flat panel area after those features are considered.
Screen printing, suitable transfer methods, embroidery, sewn labels and patches can be discussed according to the selected fabric. A method that works on one coating or weave may not suit another. Review adhesion, flexibility, colour and care requirements on a sample panel before approving the final approach.
Provide vector artwork where available, together with the required logo dimensions and colours. A digital proof checks position and spelling; a physical sample checks the relationship between the print, shell colour and surface texture. Contrasting coloured straps can frame the design without hiding essential text.
Printing is often easier before stitching because the panel can lie flat. Some sewn labels or patches are added during assembly. Record the approved artwork revision so a repeat order does not accidentally use an earlier logo. Request separate proof approval where different branches need different names or identification.
04 / STITCHING & SHAPE
Join panels and reinforce carrying points
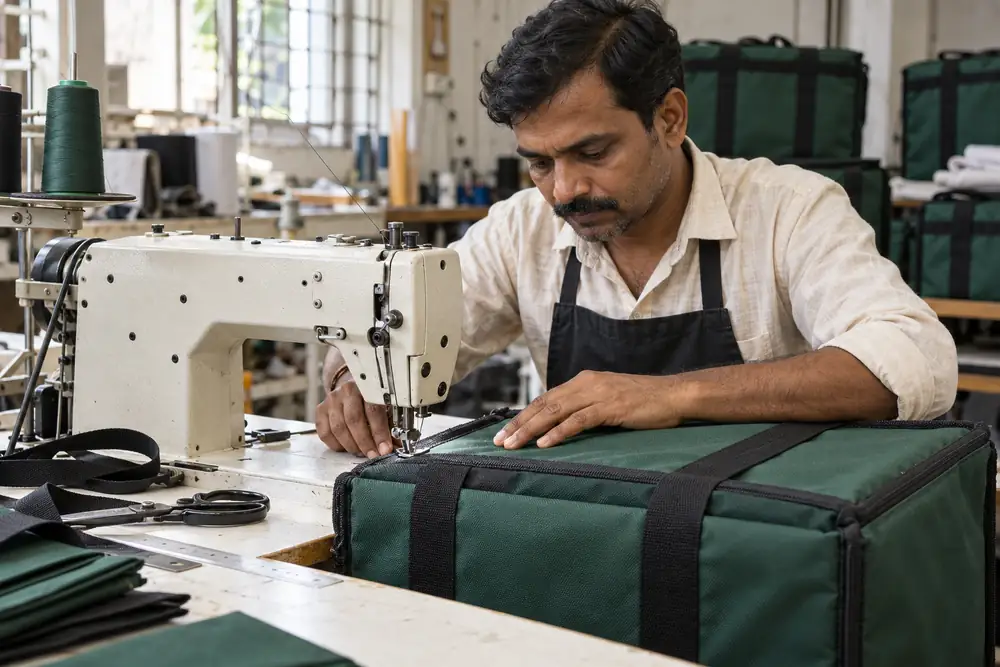
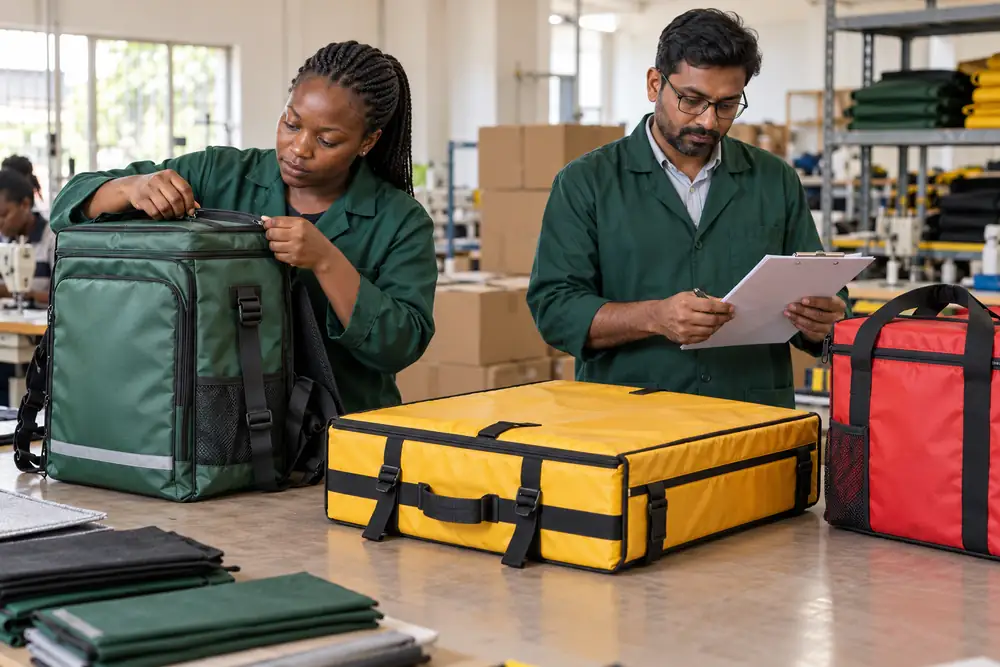
Cut panels are assembled around the chosen bag format. A flat pizza carrier needs a broad loading opening and a stable base. A rider backpack needs a considered back panel and carrying arrangement. A hand-carry meal bag may use wraparound webbing, while a cooler can use a detachable shoulder strap or twin handles.
Seam position affects both appearance and usable space. Reinforcement is particularly relevant where straps, handles and shoulder attachments transfer the load into the shell. Stitching details should be assessed on the actual material stack rather than inferred from the catalogue rendering.
Internal dividers and supports help organise packaged meals when specified correctly. Make their position, removability and cleaning access part of the brief. Avoid adding compartments simply because they look useful: each divider consumes space and can complicate loading. Test the proposed arrangement with the intended containers.
During sample review, check that the bag sits as intended, opens without excessive force and can be carried in the expected posture. Record the agreed loaded handling checks. A neat seam is important, but it does not by itself establish a tested load capacity.
05 / ZIPPERS, BELTS & STORAGE
Choose details around everyday handling
Zipper size, pull shape and opening direction affect how a busy kitchen or rider uses the bag. Twin pulls may help access a wide lid. A front opening may suit stacked containers. Check the zip path with a fully loaded sample: a closure that works when empty may become awkward if the contents press against it.
Specify strap width, adjustment range, padding and attachment points. Coloured webbing can match the shell or contrast with it in red, blue, green, cream, tan and other approved shades. Detachable shoulder straps, carry handles, backpack straps and securing belts perform different jobs and should not be treated as interchangeable.
Mesh pockets can hold non-food accessories or paperwork when appropriate. Clear identification pockets, label holders and document sleeves may help fleet allocation. Keep protruding accessories away from areas likely to catch during loading. Reflective trim is an optional visibility detail, not a substitute for rider safety equipment.
For motorcycle use, the complete mounting method must be assessed with the intended rack or vehicle. Do not infer safe mounting or a load rating from an image. Agree how the bag is secured, removed, stored and inspected between shifts, and confirm any vehicle-specific requirements separately.
06 / SAMPLE, CHECKS & DISPATCH
Approve the finished bag before bulk production
Review the sample as a working object. Load the actual containers, close every opening, use the handles and check access to each compartment. Compare the fabric and straps against the approved references. Confirm logo spelling, placement, orientation and size. Photographs are useful records, but they cannot replace a physical colour and construction check.
Create a concise approval record covering dimensions, layer specification, shell material, shade reference, webbing, closures, branding and any agreed testing. Note which measurements are internal. Record acceptable tolerances and any changes needed before production. This gives purchasing and production teams a shared reference.
Before dispatch, agree the packing arrangement, quantity per carton, identification and destination split. Bags may need different packing methods depending on their internal supports and shape. Avoid assuming every style can be folded flat. Include receiving hours and site access details for UAE deliveries coordinated from Sharjah.
For repeat orders, keep the approved sample and specification accessible. Review changes to packaging, artwork or route handling before reordering. A consistent brief helps maintain the design across batches while allowing deliberate improvements when your operation changes.
SUPPLIED CONSTRUCTION REFERENCE
Example sizes and proposed layers
These dimensions reproduce the supplied design reference as examples for discussion. They do not establish standard stock sizes or specifications for every catalogue product. Confirm the finished internal size, lining and foam in your quotation.
Reference formats — length × width × height, in centimetres
Format
Proposed outer fabric
Reference dimensions
Reference foam
Backpack
D600 Oxford
35 × 35 × 45 cm
8 mm
Hand-carry meal bag
Oxford Taffeta
40 × 30 × 28 cm
6 mm
Large box bag
Polyester canvas
50 × 40 × 40 cm
8 mm
Pizza / flat bag
Nylon option — shade card pending
50 × 50 × 16 cm
6 mm
What to include in a manufacturing brief
State the bag category, quantity, packed contents, internal dimensions, proposed fabric and colour. Add the handle or strap arrangement, pockets, divider layout, reflective details and artwork. Ask the team to confirm the lining, insulation, reinforcement, sample approval stages and delivery terms. For a multi-branch order, list each destination and quantity separately.
Thermalbags.ae supplies cooler bags, food delivery bags, rider bags, pizza delivery bags and burger delivery bags for UAE business customers. The catalogue provides a starting design; your approved specification determines the manufactured order.